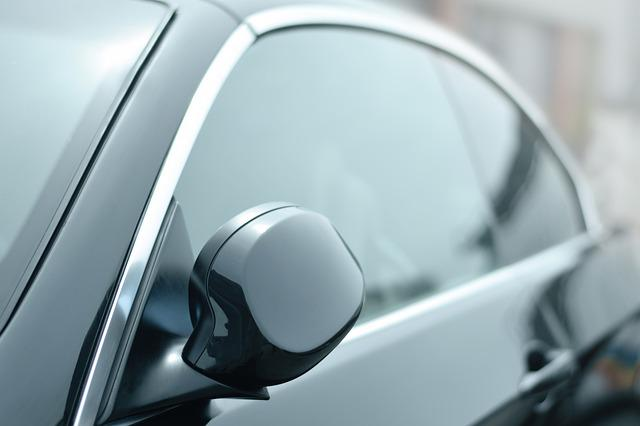
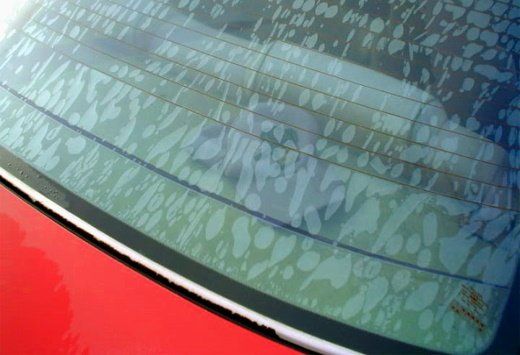
When the window film's surface separates from the glass's surface, a peeled window tint is formed. Air bubbles formed under the window tint, resulting in a visual disturbance for the driver. Fixing peeled window tint is inexpensive and simpler compared to replacing the exterior window.
Peeling window tint is also referred to as "blistering" or "a bubble." All that you need to fix a peeling window tint is some of your time to ensure that excess adhesive has been pulled out at the rear of each tint. Tinting helps shield your window from sunlight during the day.
Some of the causes of window tint peeling can be poor installation resulting in the formation of bubbles, the use of poor quality tint that is easily destroyed by UV rays, and the glue used to bind the tint starting to break down after years of sun exposure.
What to Consider Before Fixing or Replacing Window Tinting?
- Check the Warranty. If the tint was installed by professionals, you might want to first call them and ask if it can be repaired or if it needs to be replaced fully.
- Decide whether to Repair It. If the tint is out of warranty and you applied it yourself, you can choose a professional to repair it or you can repair it yourself. If you want to replace it on your own, you might want to consider the materials that you will require to do the job.
1. Fixing a bad Window Tint Job
Step 1: Do it on a Sunny Day
This should be done on a sunny day with temperatures around 75 degrees, or you could use a blow dryer. Allow the car to sit in the sun for a couple of hours before attempting to remove the tint. The reason for waiting for a sunny day is that the adhesive is more supple on a sunny day. On a sunny day, the window will quickly heat up.
Step 2: Spray Water on the Window Tint
Using a spray bottle filled with cold, distilled water, spray the water on the window tint to wet the glass. When cold water is sprayed on the heated window, the glue loosens, making it easier for the bubbles to escape.
Step 3: Get Rid of the Air Bubbles
Using a straight-edge device, such as a credit card, push the bubble to the edge of the tint. While using a safety pin to pop the air from the bubble, take care not to rip or tear the tint. Make certain that all of the air bubbles in the tint have been removed. All of the tiny holes in the tint will close up after the air has escaped. Smooth or even out the tint film with a credit card.
Precautions while Using this Method
The precaution you must take when using this method is to avoid ripping the tint while popping air bubbles with a safety pin and smoothing it with a credit card. If the tint dries before popping all of the air bubbles, spray some more water.
2. Fixing a Peeling or Tearing Window Tint
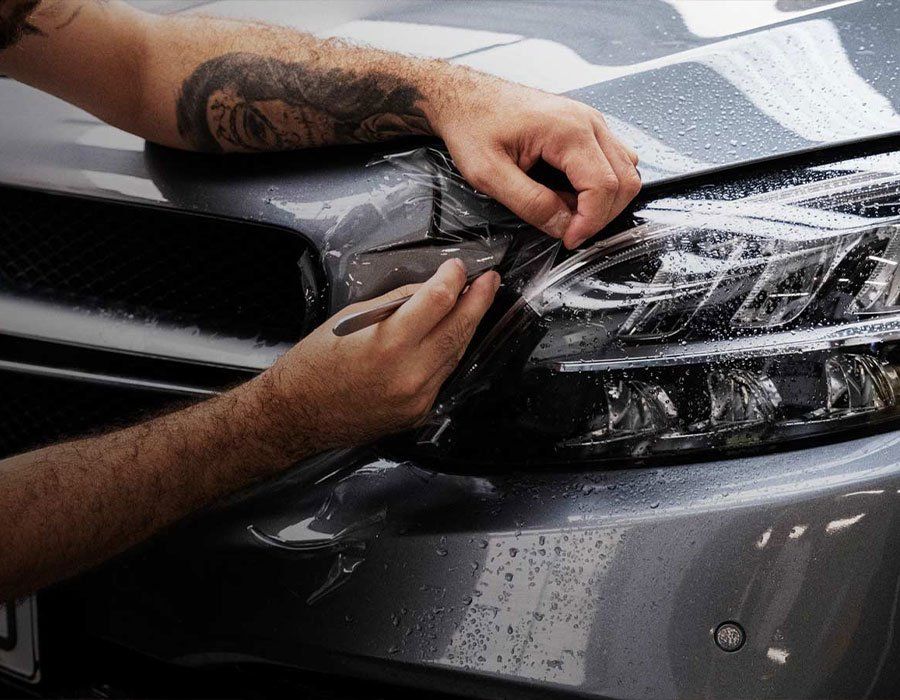
This method is a little bit complicated as you first have to remove the peeling tint and then you will have to replace it with a new film.
Step 1: Mark the Tint Peeling Section.
First of all, you will have to carefully determine the areas that will be marked. Mark a square around the affected area and ensure that it covers all the damaged, peeling paint. Lift the cut section carefully to avoid tearing the undamaged tinting.
Step 2: Cut the Peeling Tint and Lift the Edge of the Cut-out Section
Using a razor blade, cut the film of the marked area and any difficult remaining section away from the glass. Lift the corner of the cut-out old film tint carefully to prevent the peeling of the undamaged tint.
Step 3: Spray Water on the Peeling Section and Get Rid of the Peeling Section
Spraying distilled water will loosen the tint film. Using a razor blade, remove any difficult sections.
Step 4: Clean the Window and Cut the New Tint Film
Remove all the adhesives by cleaning the section where the tint has been removed. Cut a new tinting film one inch larger on all sides compared to the marked square.
Step 5: Apply Water to The Window and Cut Across the Old and New Tinting
Spray water on the window with a spray bottle to wet the window. On the edges of the square that you cut out, use a razor to cut through both the new and old tint, and repeat the same process on all the other sides.
Step 6: Remove the Old Tint Film
During the installation of the new tint, press the new film onto the window while clearing any bubbles that form. Pull out the sections of the old film tint that have been cut while holding the new tint in place. The new tint will fit correctly after you press it in place.
Precautions to Consider While Using This Method
Window tinting sheets have two layers, therefore, ensure that your razor goes through both layers down to the glass. Use a straight-edge device to get rid of any bubbles that have formed.
Repairing a window tint takes great patience and a steady hand. Window tinting is intended to improve the appearance of your vehicle. If done incorrectly, it will lead to an undesirable look, Whether a bubble or peeling, they all need to be repaired and done in the right way.
Are You Looking for Professionals to Fix Your Peeling Window Tint?
Welcome to Detail Solutions, We will fix your window film or window tint because we are professionals.
We are a locally owned and operated car detailing shop that has been in existence since 2011. We specialize in installing car window tint, window tint film, paint protection film, ceramic coatings, and exterior and interior vehicle detailing.
If you are looking for professionals to fix a peeling window tint, visit us at our shop in Baltimore, Maryland. You can also call (410) 238-3000 or email us at sales@baltimoredetail.com to book an appointment today.